In keeping with the spirit of this holiday (brought to you by all good gift cards manufacturers), here's a quick Photoshop doodle of something mushy, complete with instructions. Credit to F9Vision.com and NASA APOD for the source images used below.

I started with this easily-Googled picture of a red rose, which I found here:

Using the select colour range tool, I selected the white background, then used "select inverse" to select the rose itself. I found I had to contract the selection by 1px to remove the last bits of white from the edges of the image. I then copied and pasted this selection as a new layer in a new image with a plain black background:

My next step was to make the background more interesting, so I used a picture of the (topical) Rosette Nebula from NASA's APOD site (which you should go check out just as soon as you're done reading this).
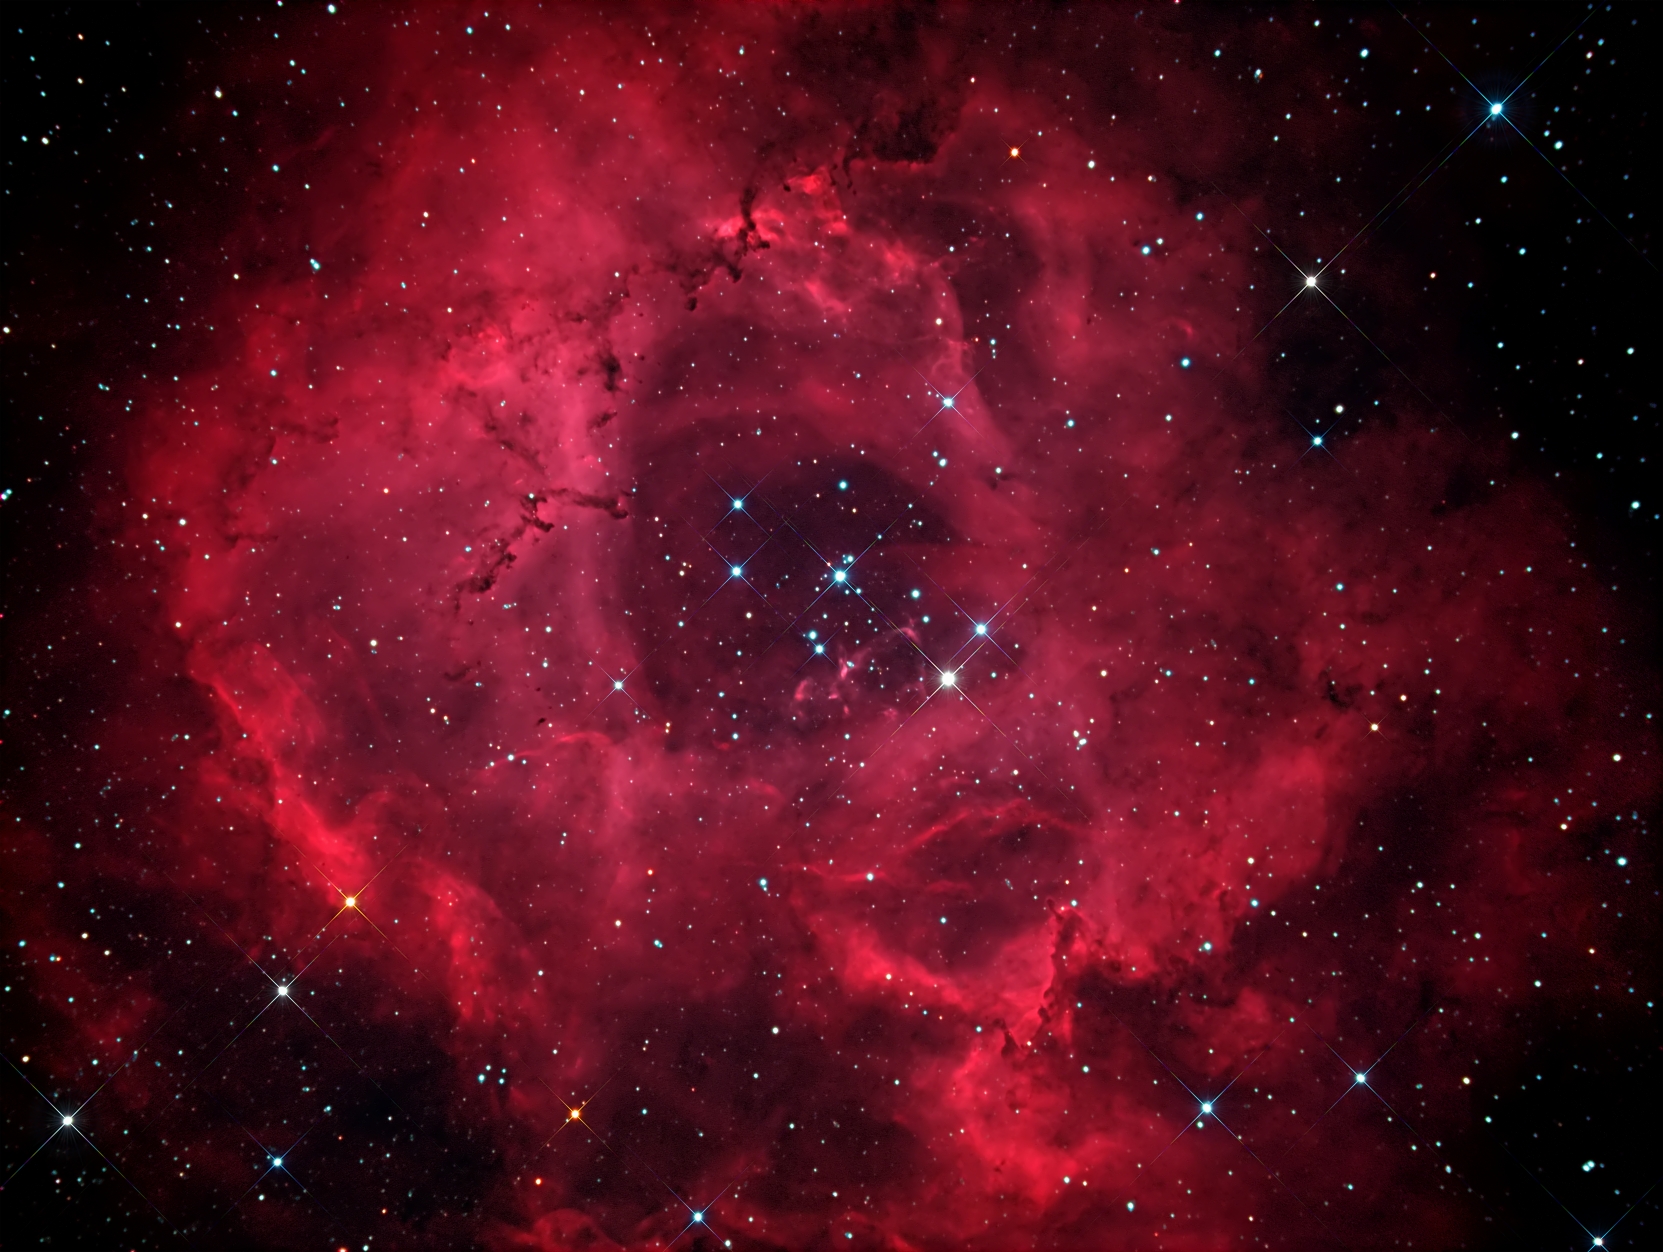

Since the nebula image was quite a bit larger than the rose, I was free to let this new layer overlap the edges of the canvas, which let me play with the size and positioning of it a bit more. I used the burn and sharpen tools on the leaves to give them a bit of extra definition.
The next step was to add a glow around the edges of the rose. I copied the rose layer and used the colour overlay option from the layer styles menu to add a pale pink overlay to the image:

To make it look like a proper glow, I duplicated this pink layer and used a Gaussian blur filter with radius 3px on the top layer, and 6px on the bottom.
The next step was to add some stars in front of the rose. I used a plain circular brush with radius 4px and dotted a few stars onto a new layer in the foreground of the image:

The problem with these stars is they don't quite match up with the ones in the background. See those blurry "X"-shaped lines by the background stars? There's a long, boring explanation for why they appear when you look at distant objects through a telescope, but for now all we need to know is how to make our own.
To make things easier I hid every layer except the stars layer and the black background; then I used the magic wand tool to select the space around the stars. Inverting the selection gave me a nice neat selection around every star. I contracted the selection by 1px, and copied and pasted this into another layer, which I called "Stars blur".
I duplicated this layer and applied a motion blur filter with depth 10px and angle 45 degrees to one layer, and depth 10px and angle -45 degrees to the other layer. The result was this:

Bring back all the other layers, and we have our finished image:

And it really is that simple. Happy Valentines everyone!
No comments:
Post a Comment