
This isn't really intended as a tutorial; it's more of a reminder for myself in case I ever want to do anything like this again. That said, if you're reading this I hope it gives you a few ideas!
Two things prompted this: Firstly, I snapped an unexpectedly good photo of sunset on the Brighton seafront on my phone. Secondly, I finally got a replacement for my ancient XP monolith and wanted to see what it could do.
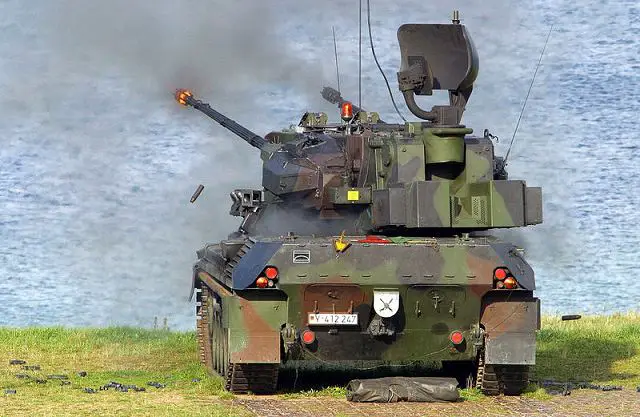
A couple of credits before I get the ball rolling: to TTGxBoeing for this excellent alien invasion tutorial, which I have to credit as my original inspiration for this piece. Secondly, to Fabio Sasso for his tutorial on creating fireballs and explosions. These two between them gave me pretty much everything I needed to create the above scene. The tank image I sourced here, and is hosted on armyrecognition.com.
So, the original photo:

I was really happy with how this came out, but I can never resist fiddling with a good thing. My initial reaction was that there were a few too many people out for leisurely walks - that kid in particular looks a bit too chilled for someone watching his hometown get blown up. So I disposed of them with a combination of clone brush and spot healing tools:

Next, the spaceships. I had this image left over from a previous project:

I decided on 3 spaceships covering a range of distances from the viewer. (See the little one over Shoreham, up the coast to the left?) The next thing I needed to do was get rid of that pesky dude with the kid's bicycle. He was too big for the clone brush or the spot healer, so I used a tank:

I had to do some fiddling around with the brightness and contrast to get the tank looking like it belonged in the scene. I also created a new layer for the bench in the foreground, and while I was at it did the same for that lamppost in front of the central spaceship. The shadow of the tank actually came from another image of the same machine from a different angle, silhouetted and distorted to look like a shadow. (Actually when looking up the credit for that image I realised it's a model of the tank made by Tamiya, Inc.)
With the tank in place, it was time to start blowing stuff up. I started with the smaller spaceship to the right:

This is where I started using the tutorials I linked above. You can find full details of these effects there so I won't go into them at length here. I duplicated the beam and smoke from the larger spaceship and reused them for the smaller one to the left of the picture. As with the bench by the tank, I created a new layer for the Mercure Motel since it needed to appear in front of all that smoke.
Now, time to start in on the centrepiece of the action! I started by creating a more detailed beam effect below the central spaceship:

I decided to make the lightning interact with some of the objects in the street around it, like the bus stop. I originally had it interacting with the lamppost next to the impact as well, but this interfered with the later smoke effect. Speaking of which:

I also added some smoke around the tank (having cropped out the smoke that was present in the original image). I did this using the same brush I used for the smoke columns, but at a larger size and much lower opacity. I then decided to include a shockwave effect around my central explosion:

To create this effect, I created a circular marquee around the impact point and temporarily flattened the layers, copying the selection into a new image. In that image I then used a Spherize filter on the circular selection and copied the result back into my main image as a new layer. Using the layer styles palette, I used the Outer and Inner glow settings (I found using Blend Mode: Screen and a low opacity worked best) to create the edges of the shockwave. Finally, I copied the sign in front of the blast into a new layer to keep it in the foreground.

I copied the tank, shadow and smoke layers into a new layer and used a second tank to eclipse the last few pesky civilians left in the picture. I also darkened the sky by taking a rough selection, feathering by 100px and going nuts with the Brightness/Contrast adjustment.
The final step was to add an adjustment layer over everything to apply a gradient map for a bit of extra atmosphere (which had the additional benefit of adding consistency to the lighting of all the elements in the photo):

And there you have it - if aliens ever do invade Brighton, it might look something like this!
I'll probably be tweaking this image for the next few weeks as I find bits of it I think I could do better, so if you have any suggestions or questions please get in touch!
(Edit: just discovered this is apparently a thing!)

Love Love Love
ReplyDelete